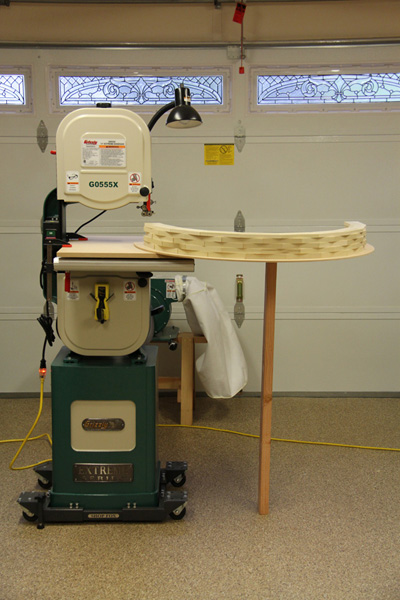
In my last post, I explained how to build the semi-circular apron of a Federal card table. The next step in this project is to veneer the front of the apron. For that, I am planning to use some great looking crotch mahogany veneer purchased from Veneer Supplies. The primary issue when veneering on a curve is to find a way to apply sufficient pressure uniformly across the entire surface. In this short article, I will show you how I am planning to do that.
First of all, a vacuum press is not really an option in this case as it might destroy the apron! It could work on a smaller piece, especially if the curve is not as pronounced. However, you will have to build a form to prevent the piece from collapsing under atmospheric pressure.
A more viable option is to use what is referred to as “bending plywood”, “wiggle wood”, or “Italian bending poplar”, to build a curved caul. In terms of thickness, 1/2″ is probably a minimum in order to spread the clamping pressure across the entire surface. You may be able to find some bending plywood online. In my case, I found some at a local retailer. The only issue with this option is that I had to buy a 24″x48″ sheet when all I needed was a small strip 3.5″x20″. So I went looking for a better, cheaper option. Here is what I did:
Step 1: Cut a piece of quality plywood — I used some scrap Finnish birch plywood — to the dimensions you need (3.5″x20″ in my case) Note: it is critical for the grain to go lengthwise on the outer plys! Otherwise, the plywood will crack as soon as you try to bend it…
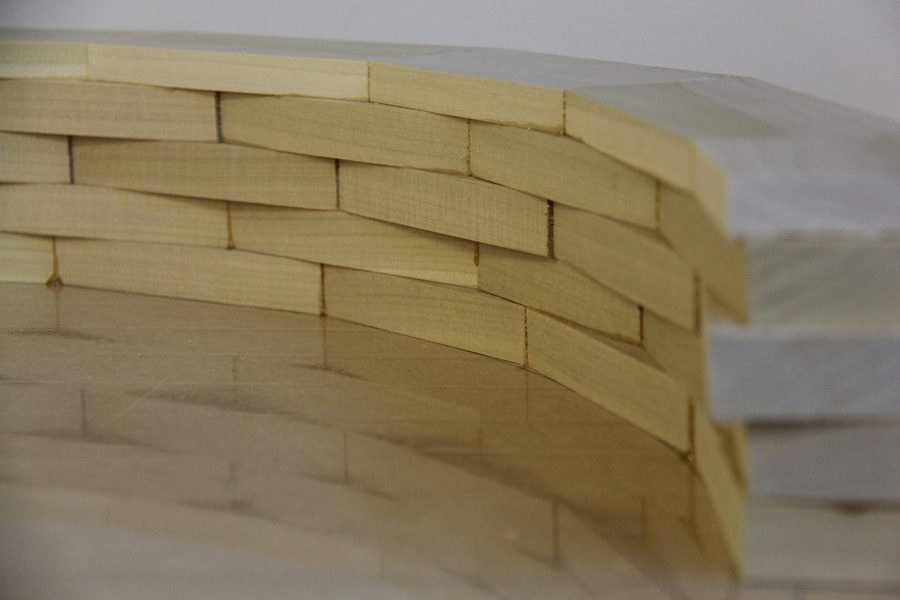
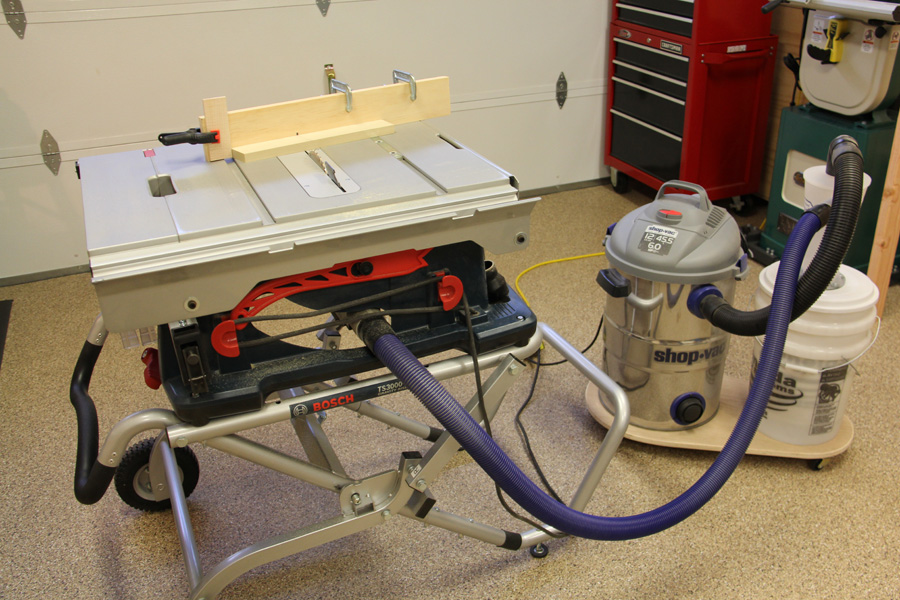
Step 2: At the table saw, using a cross-cutting sled, I cut a series of deep notches (or kerfs) every 1/2″ across the entire surface, leaving only 1/16″ of thickness. When that is done, the piece of plywood becomes bendable.
Step 3: Resaw a piece of thick (1/16″) solid wood veneer at the band saw. You can use pretty much any wood species you want. In my case, I used some scrap poplar.
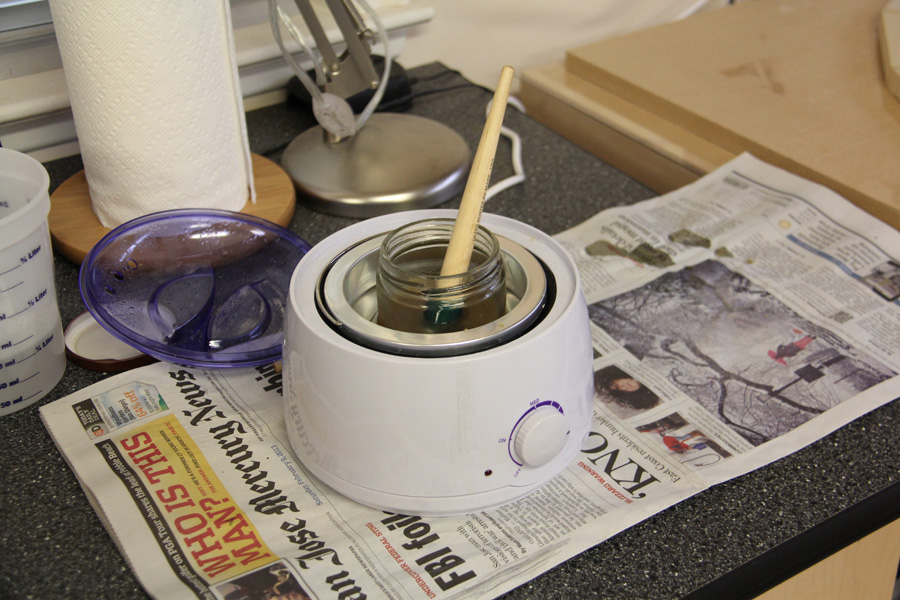
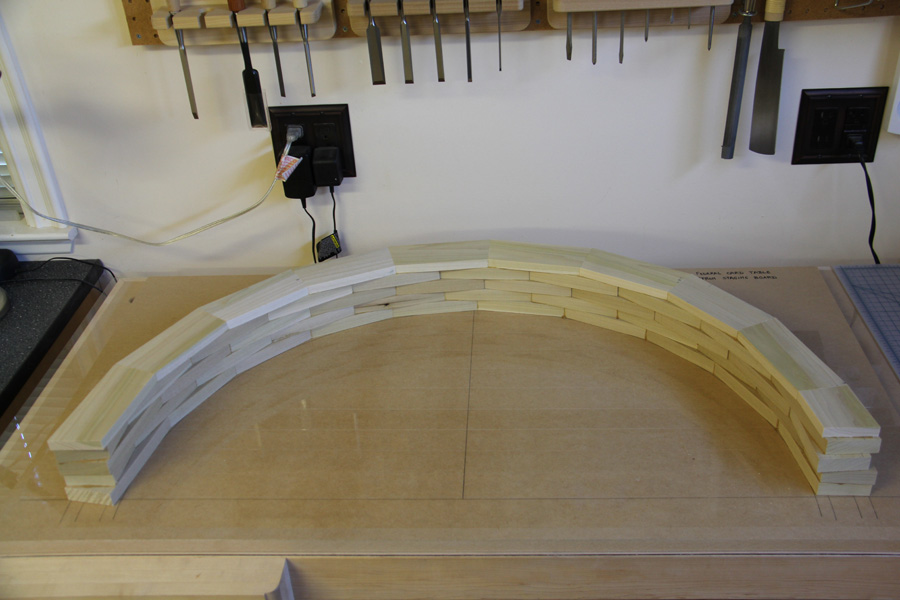
Step 4: Glue that thick piece of veneer to the face of the plywood that has all the kerf cuts and clamp it against the desired curved form. Use a glue that does not creep. In my opinion, the best option is liquid hide glue. Let the glue harden overnight. When the glue has dried, the piece will retain its shape.
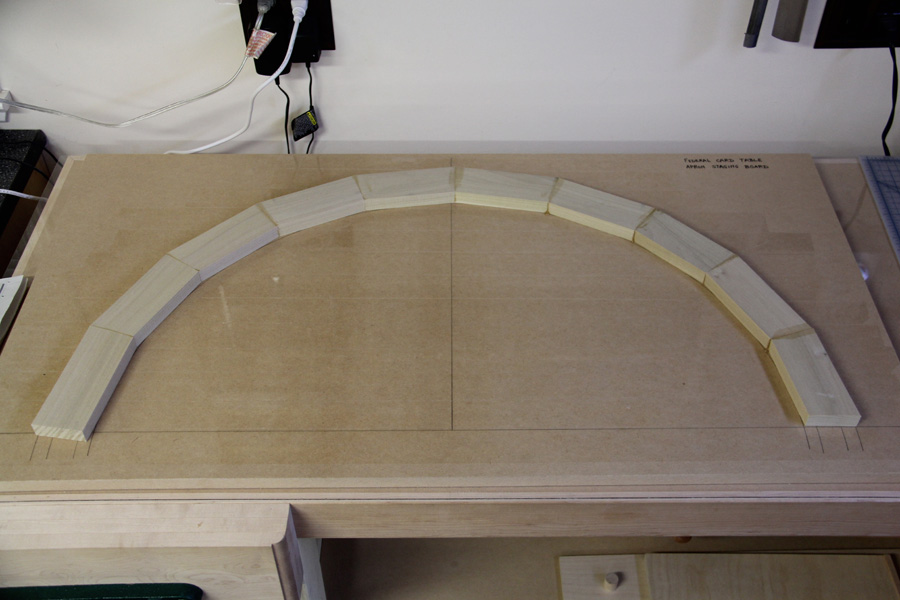
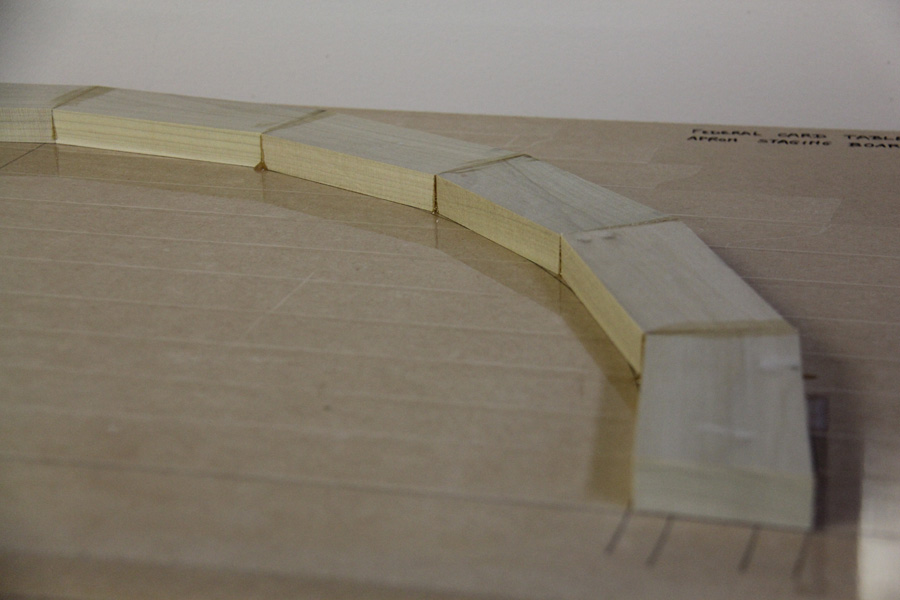
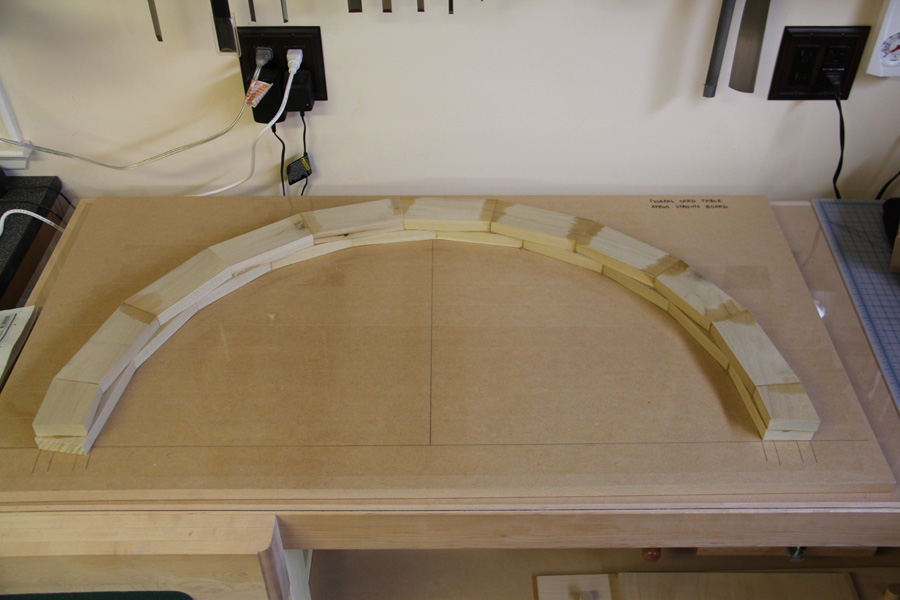
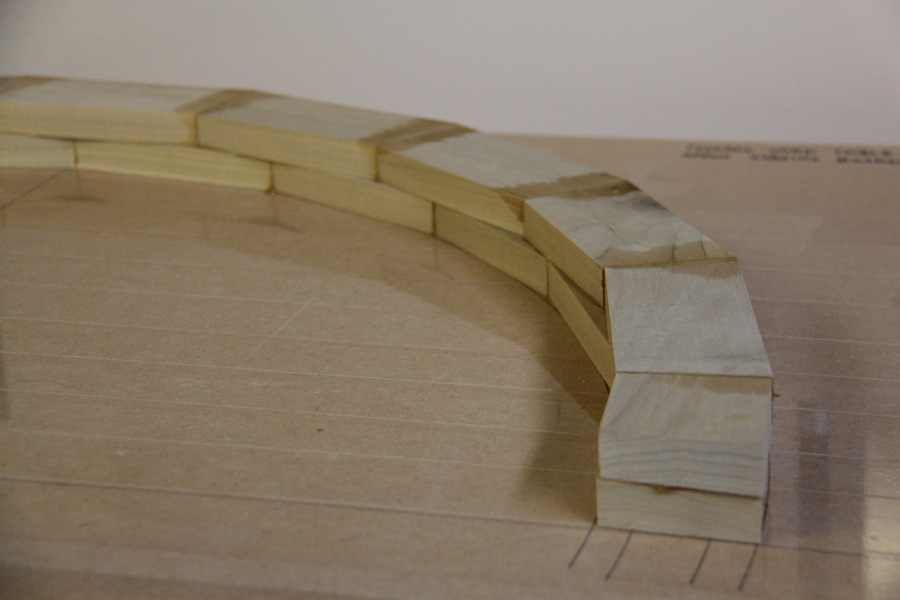
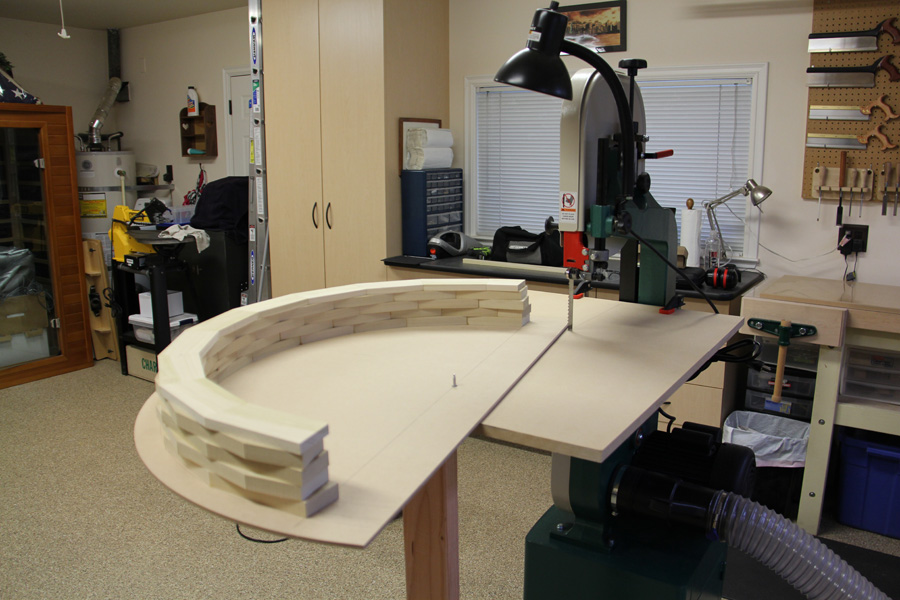
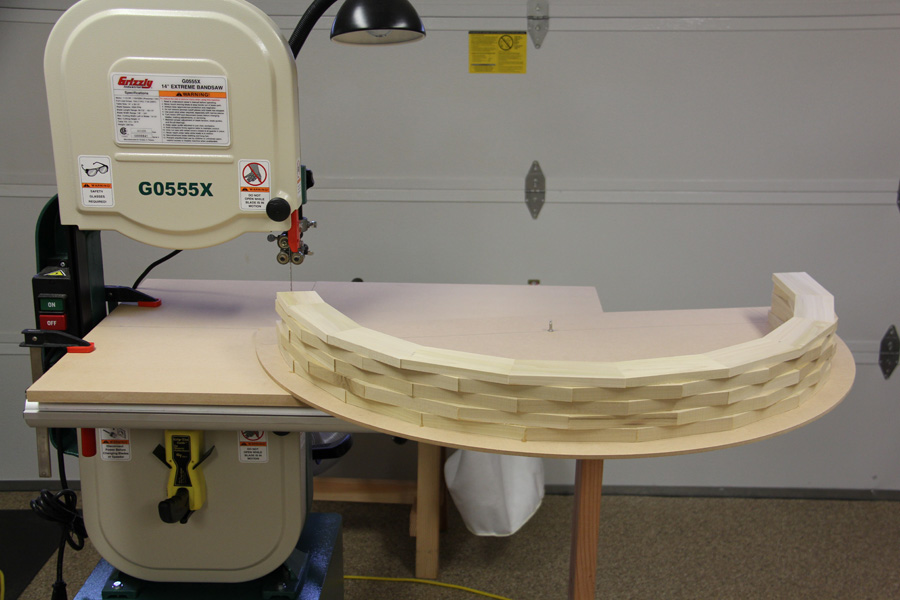
Step 5: Glue small blocks, as necessary, to spread the clamping pressure evenly across the entire curved surface. Below is a photo of the curved caul I came up with:
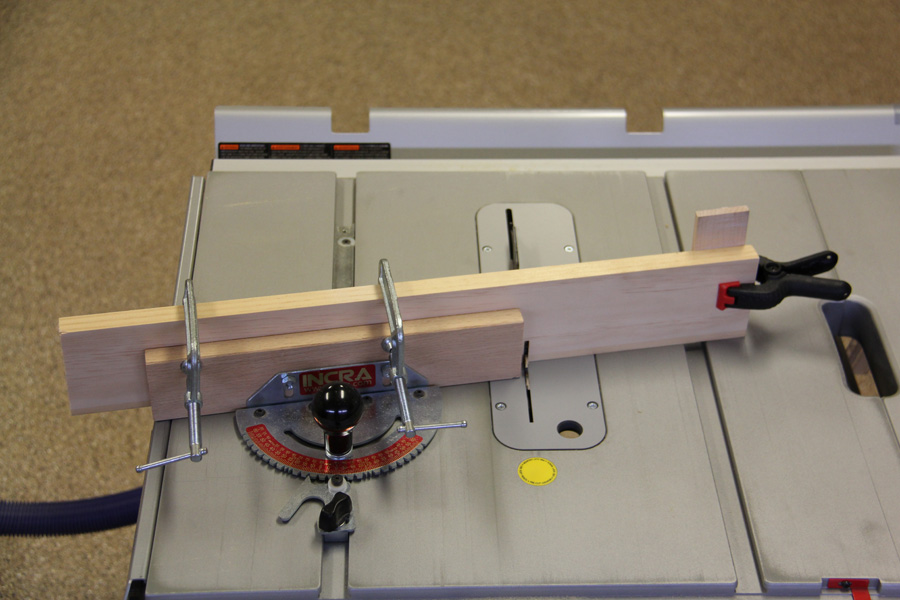
Pro-Tip: I found that hand screws are a great way to clamp a curved piece on edge against your workbench: