Monthly Archives: August

Building the Apron of a Federal Card Table

After coming back from attending the Fine Woodworking Live conference in New Haven, CT, and especially after talking with Fine Woodworking author and period furniture maker Steve Latta, I set out to build a Federal Card Table. I was interested in this project because it was the perfect opportunity to learn more about banding, stringing, bell flower inlays, and expand my veneering and marquetry skills. It was also an excellent opportunity to get into curved work. The fact that I also happened to like the piece helped me make the decision to dive in! After doing some research, I found 2 great magazine articles that would serve as references on how to build a federal card table:

  • Federal Demilune Card Table by Steve Latta (Fine Woodworking #180)
  • The Portsmouth Card Table by Mario Rodriguez (American Woodworker)

In today’s article, I will show you how I built the semi-circular apron. That part of the project is not particularly difficult, but it must be done with care since the entire table is built around the apron.

I felt compelled to write this article because, in my opinion, the aforementioned references do not present satisfactory ways of trimming the apron. I will however not cover every single detail of the construction and suggest that you purchase these magazine articles if you are interested in learning more about the entire process.
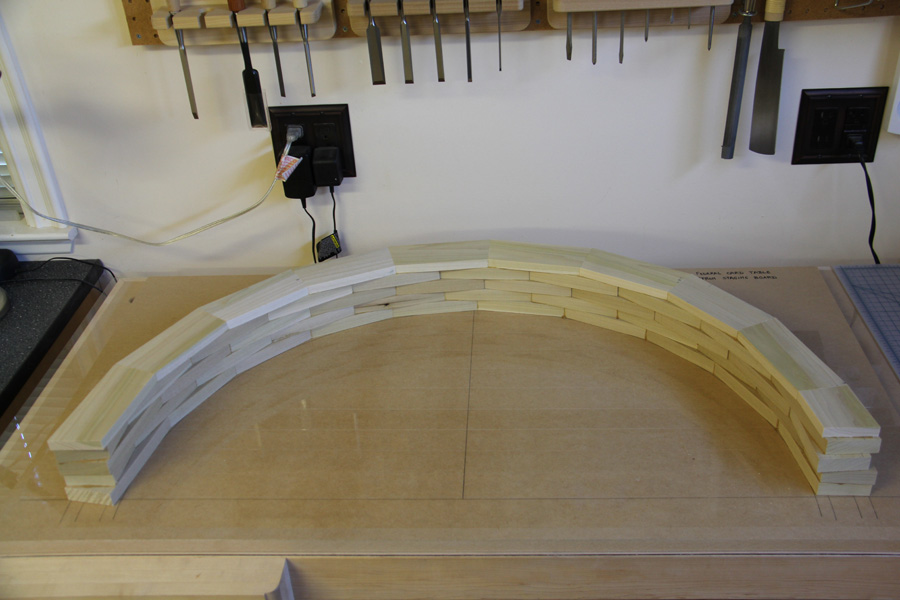
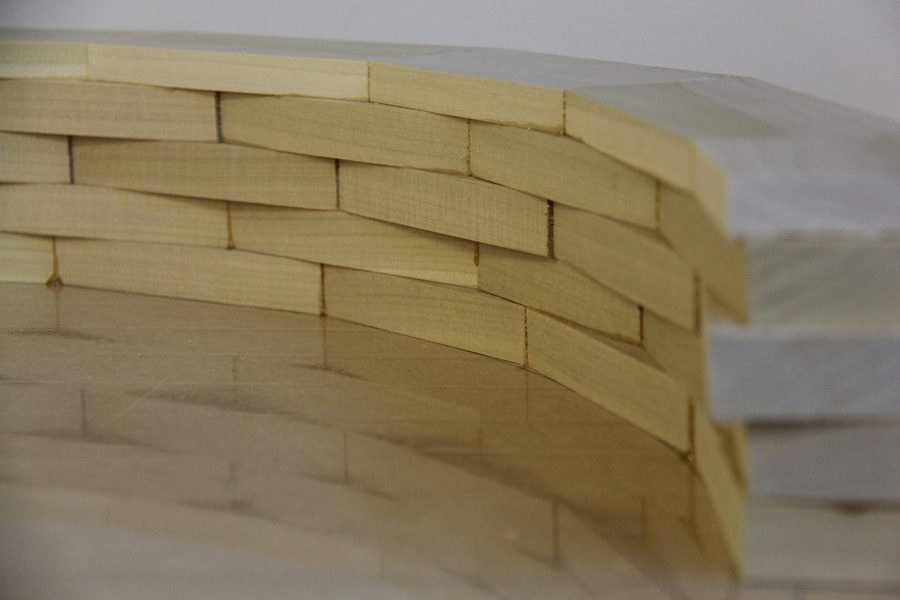
A brick wall…

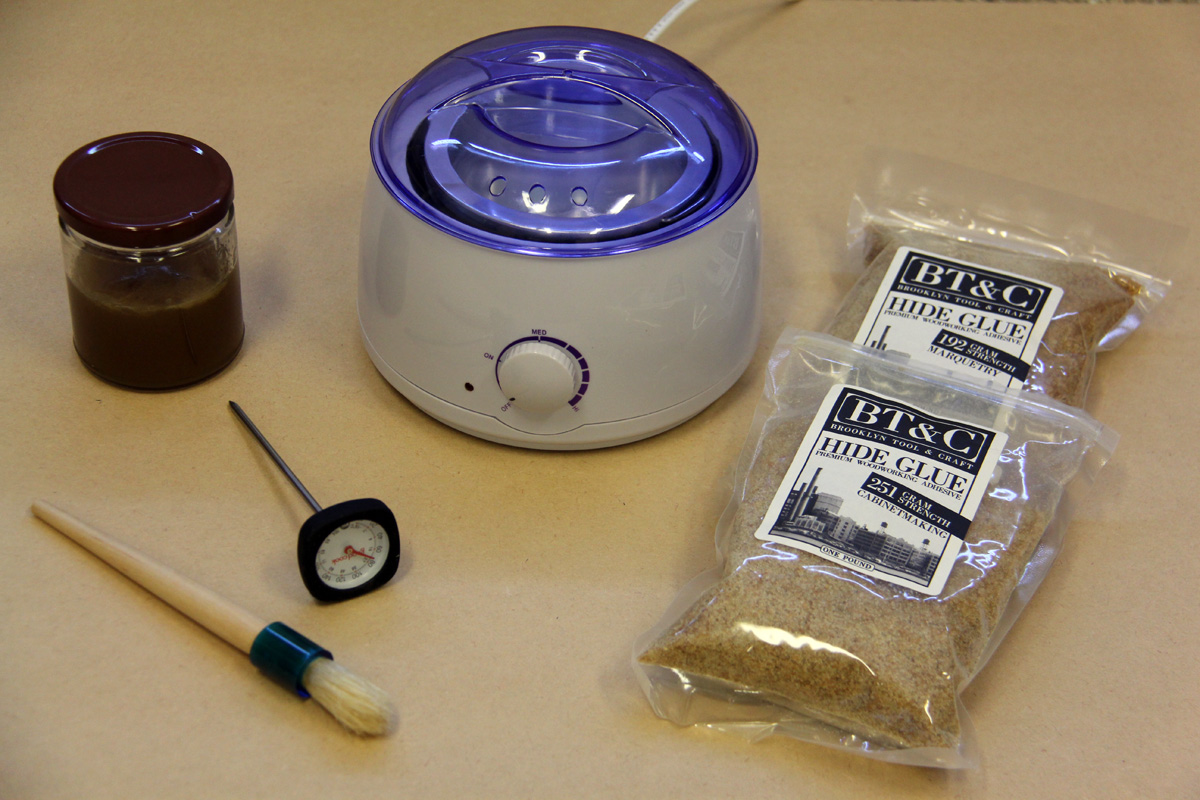
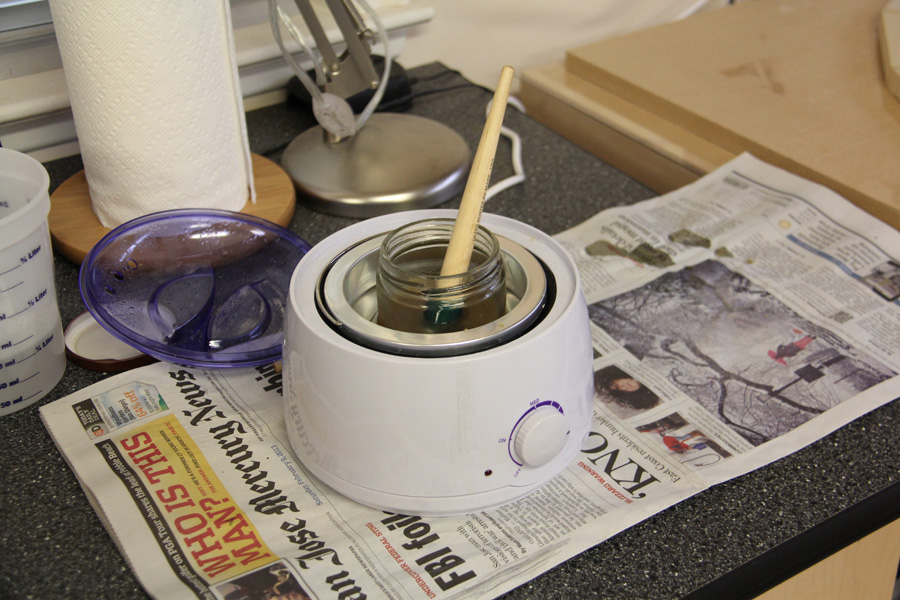
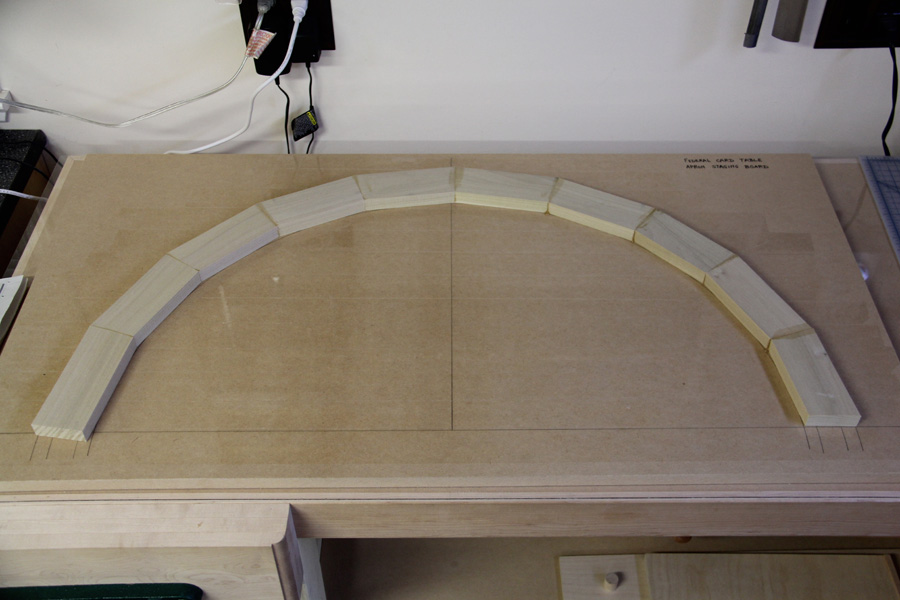
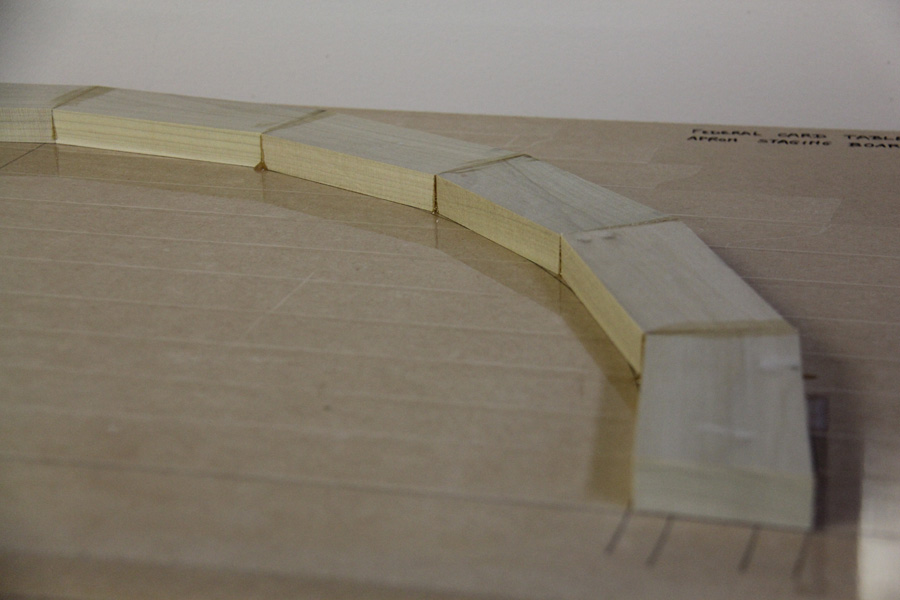
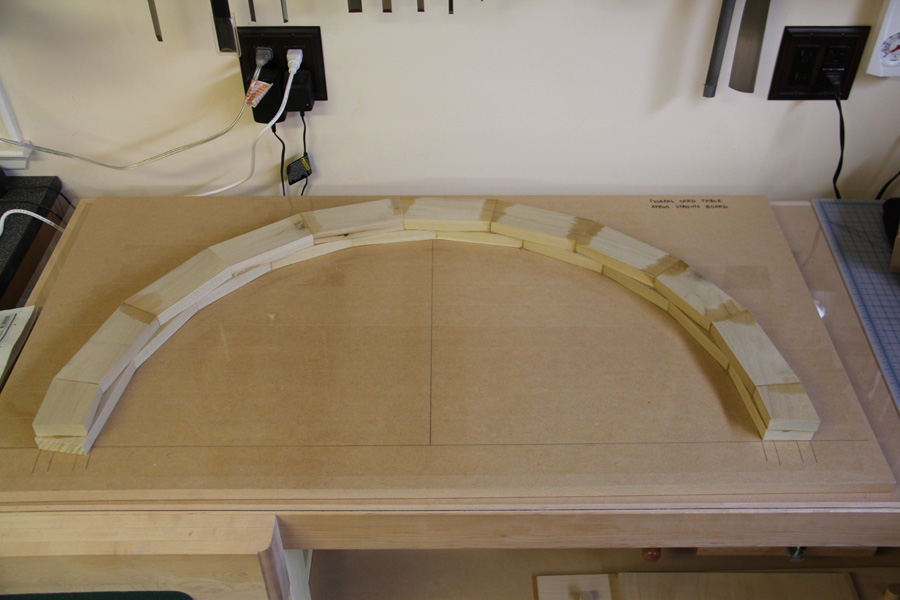
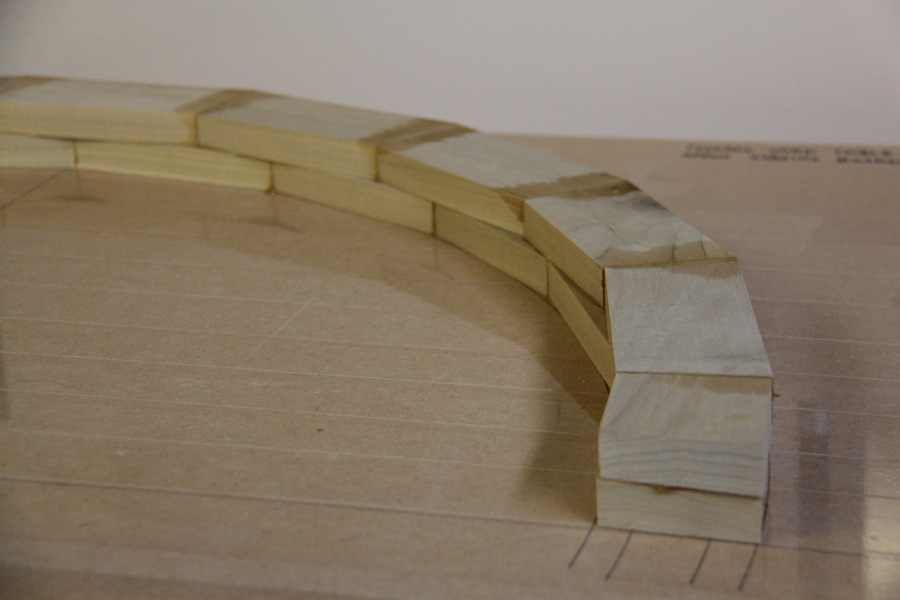
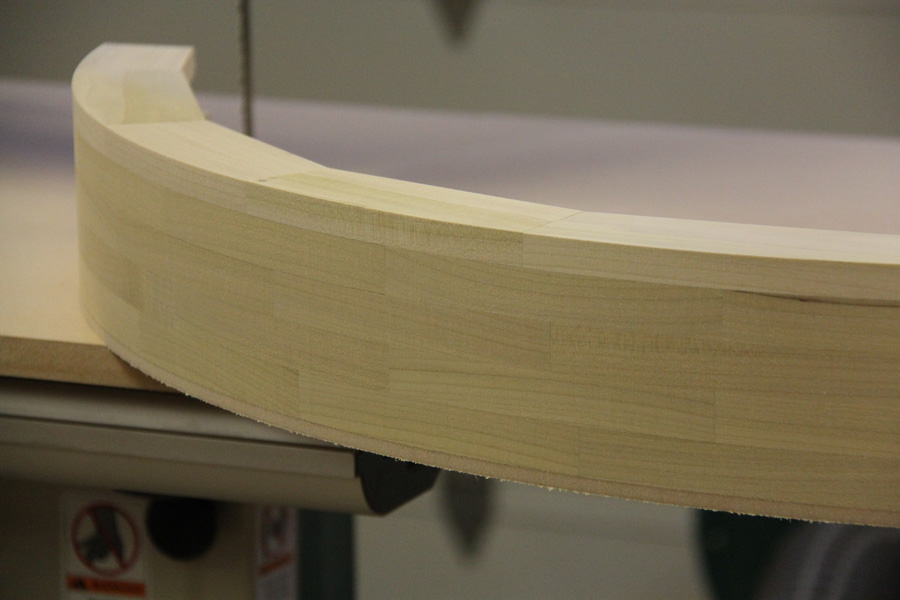
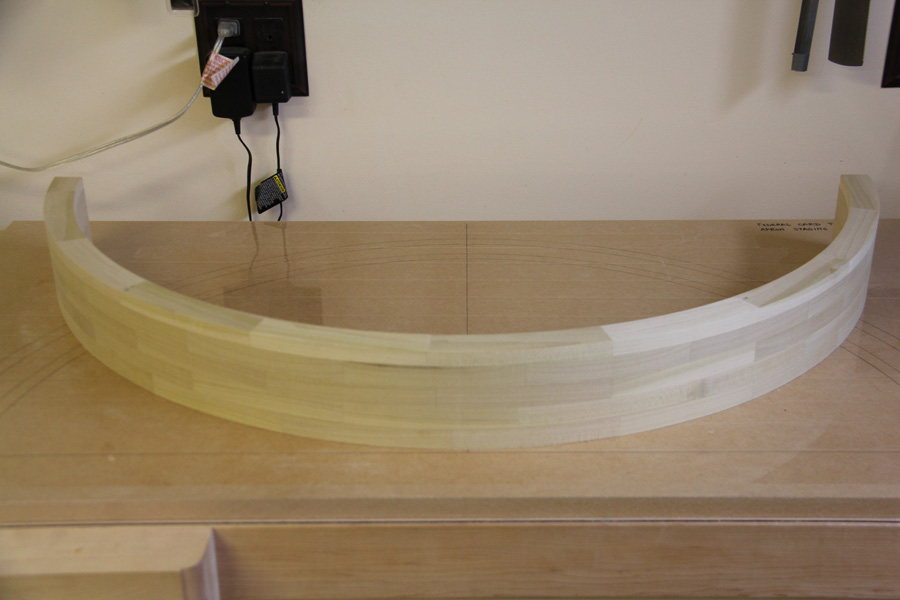
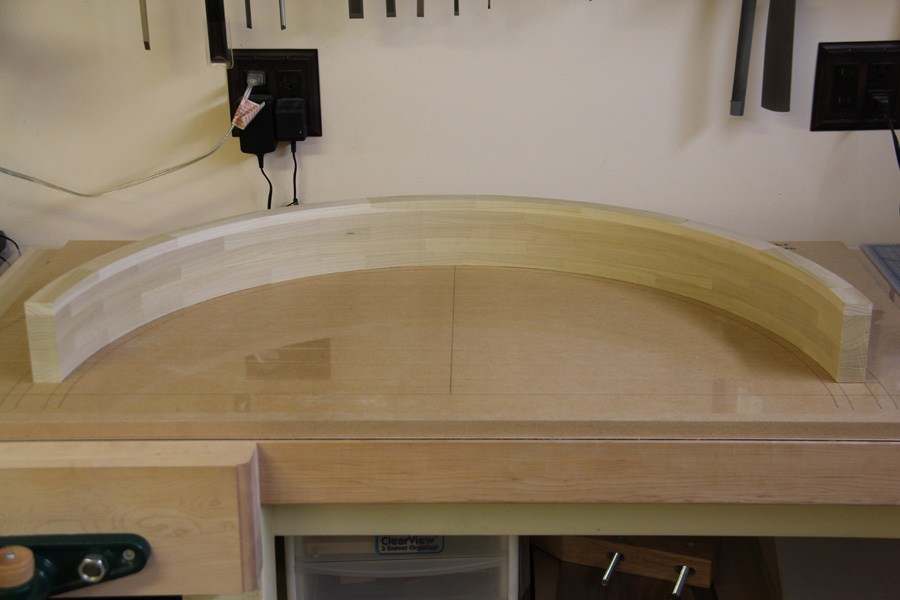
The apron of a federal card table is built very much like a masonry wall, by laying “bricks” of poplar in a semi-circular fashion on top of a staging board. To make the process easier, I used hot hide glue which requires no clamping and allowed me to work quickly. I opted to use a fairly large number of bricks in each layer (10, as suggested in Mario Rodriguez’ article) to use less material and also because I believe that the apron will be more stable that way. Each layer was left to dry over night prior to being planed in preparation for the next layer. The apron was built in 4 days.

Trimming the apron

In his article, Steve Latta recommends to trim each layer using a router and an MDF template. A “climb cut” is necessary because the grain switches direction between two consecutive bricks. I first tried this technique, and I cannot recommend it. I found it to be very dangerous, even if you only have 1/16″ to trim. The router is very hard to control!

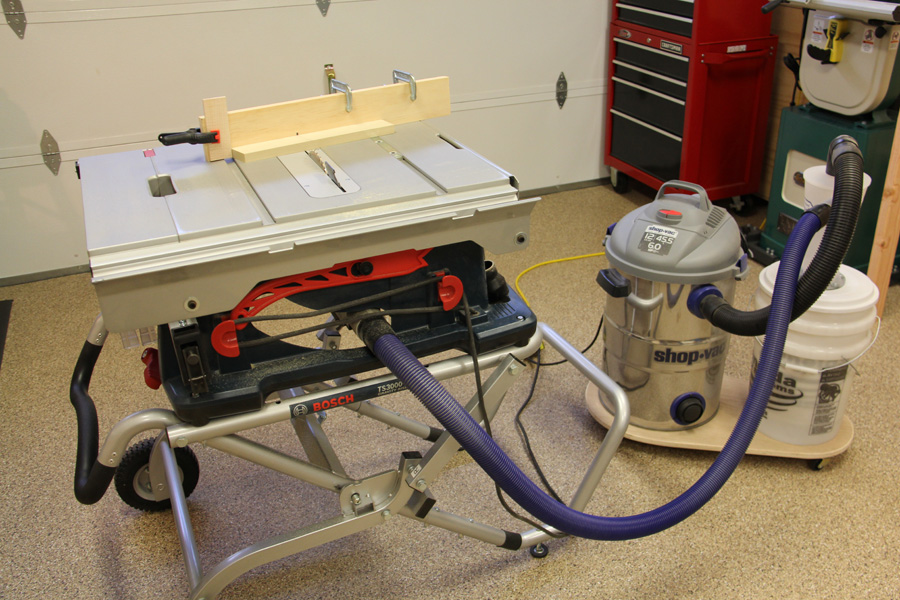
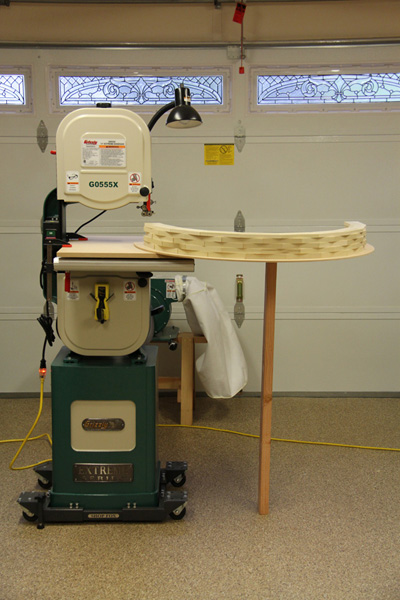
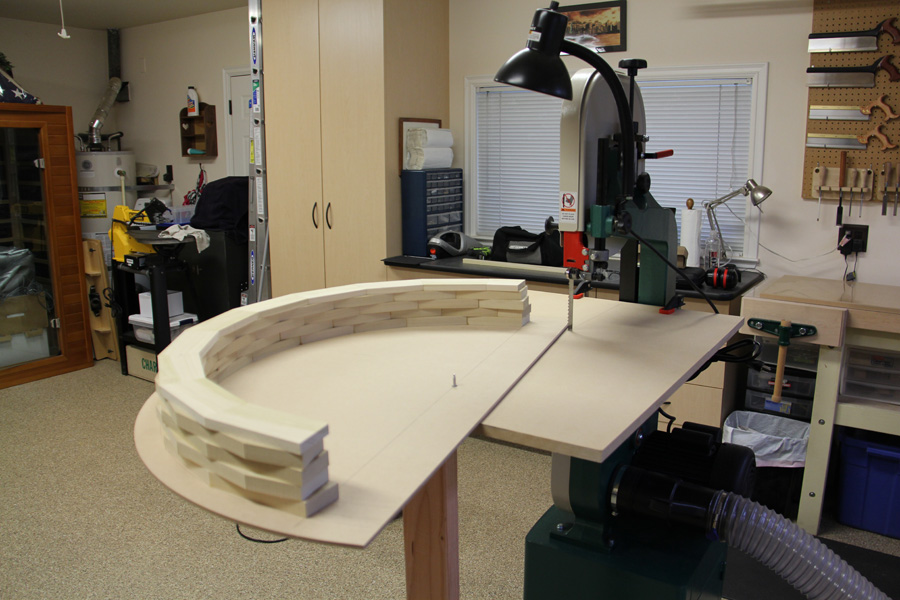
Mario Rodriguez, on the other hand, trims the apron free hand at the band saw before cleaning it up with a card scraper and/or sand paper (Needless to say that if you go that route, you will need to build an extension table for your band saw!) I like to think that I am pretty good with the band saw. Nevertheless, I think that I would not have been able to obtain a very clean cut, and I would have spent a lot of time and energy cleaning up the apron.

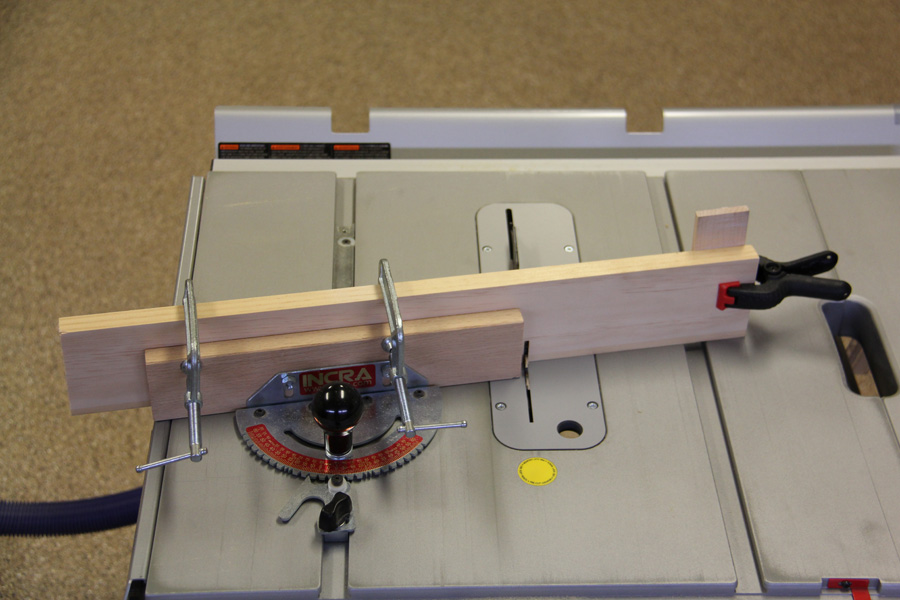
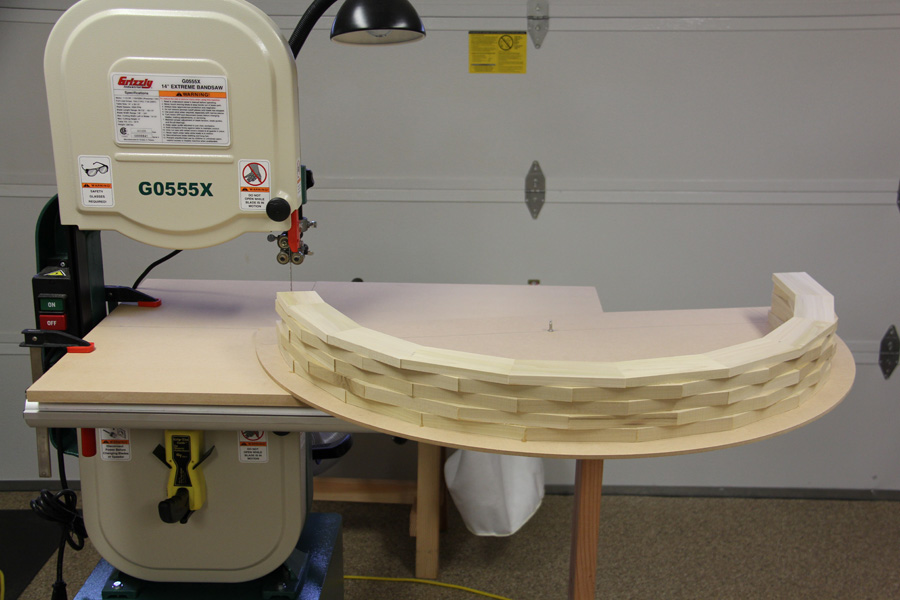
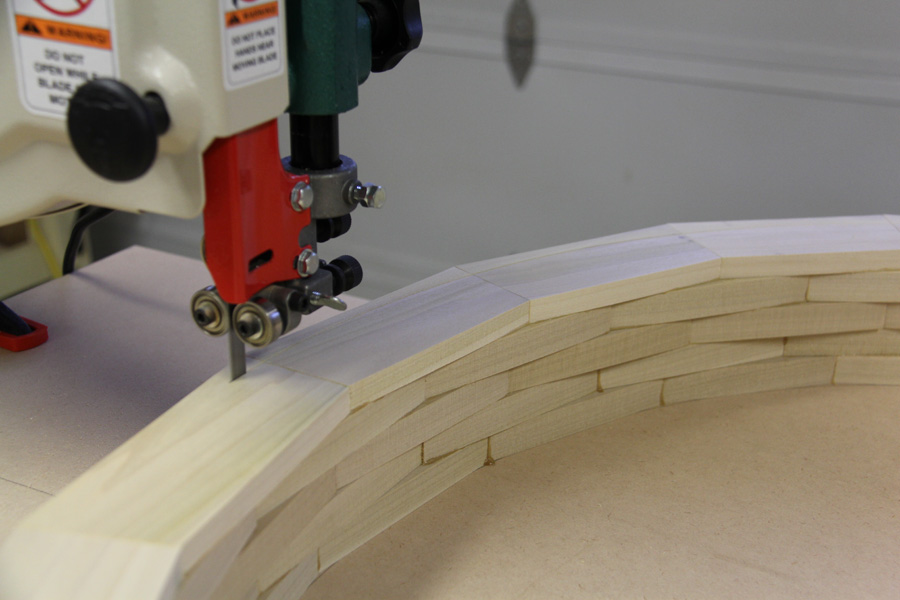
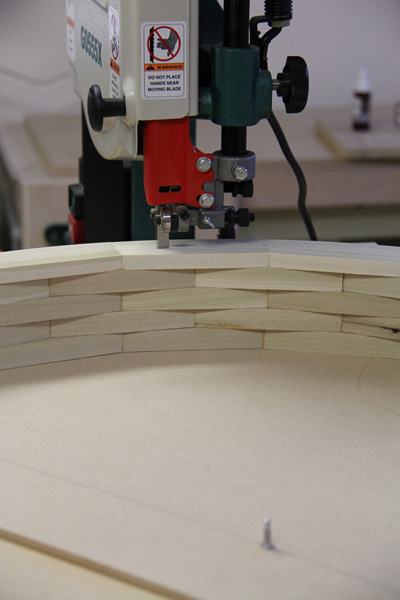
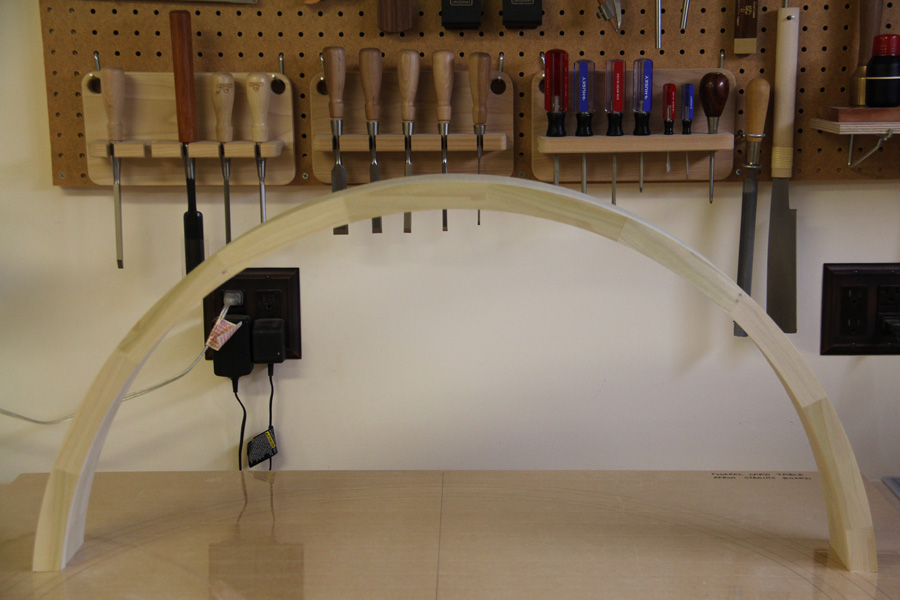
After contemplating my options, I decided to build a jig to make the task of trimming the apron at the band saw easier. It is similar to a circle cutting jig, although it can be used only once. The photos below should hopefully give you enough details about the whole process (click on the thumbnails for a larger version of each photo) The result? A perfectly cut apron which requires no clean up right out of the band saw! The 30 minutes it took to build this jig were worth the effort!


san francisco dui attorney | Online payday loan cash advance in maryland - online cash advance direct lender | poker dewa | buy valtrex No Prescription | arimidex no prescription | buy sertraline No Prescription | zocor No Prescription | buy strattera No Prescription

Don’t Be Afraid of Hot Hide Glue!

I recently started using liquid hide glue (I have only used Titebond’s liquid hide glue so far, but you can also use Patrick Edwards’ Old Brown Glue) in all of my projects because squeeze out is so easy to clean up, and whatever is left on the wood will not significantly interfere with penetrating finishes. However, a few weeks ago, at the Fine Woodworking Live event in New Haven, CT, period furniture maker Steve Latta recommended that I give hot hide glue a try because of its remarkable properties, which can be very useful under certain circumstances. As a result of this conversation, I decided to purchase some equipment. At minimum, I would need a glue pot, a decent glue brush, a thermometer, and of course some hide glue in granulated form.

The glue pot that most people seem to be using these days is the Hold Heet electric glue pot, available from a variety of retailers. However, I was not ready to invest $135, so I went looking for a cheaper option. After doing some internet searches, I found that people were getting good results using a homemade double boiler on a hot plate, or a modified crock-pot. All those options seem to work well according to those who had used them. However, I was looking for a cheap option that was convenient (a self-powered electric unit is a must) and required little to no modifications out of the box. I finally settled on a wax warmer for $28. I figured that if this unit did not work out, at least I would have some very smooth legs :)

I also purchased a decent glue brush as well as some 192 and 251 gram strength hide glue from Tools For Working Wood. Finally, I picked up a meat thermometer at the grocery store for $3. Click on the thumbnail on the left for a detailed view of my “el-cheapo hot hide glue kit”.


After watching this very detailed video showing Patrick Edwards explaining how to use hot hide glue, I felt confident enough to give it a try. It took me a little while to get the dosage just right (at first, I had put too much water) but I eventually made a good batch and used it on a project I am working on. To say that I loved it is an understatement! In my opinion, here are the main benefits of hot hide glue:

  • It becomes tacky very quickly as it cools down, reducing or even eliminating the need for clamps. This is especially useful with glue blocks, or when making complex assemblies that would be a nightmare to clamp. It is that quality that makes hammer veneering possible. Note: The glue will reach full strength in about 24 hours once all the water it contains has evaporated.
  • It cleans up very easily! Just use a rag impregnated with warm water. However, keep in mind that the longer you wait, the harder it is to clean up…
  • It does not creep. Indeed, the glue dries hard unlike PVA glue which retains some of its flexibility. It dries harder than liquid hide glue as well, according to what I have read. This quality can be useful in curved work.

A lot of people mention the reversibility aspect of hide glue (hot or in liquid form) as a major advantage over modern glues. In my opinion, this is only really true when doing veneering work where it is possible to get enough moisture and heat through the thin veneer to loosen the glue bond. However, forget about dislodging a mortise and tenon joint once the glue has fully hardened!

Conclusion: give hot hide glue a try and you’ll be amazed! However, remember to always use the right glue for the right job. Hot hide glue will do wonders in some applications (e.g., hammer veneering, glue blocks, complex assemblies where clamping would be difficult), while other glues might be better suited to other applications…