Federal Card Table Project Wrap-Up

After 6 months, working almost daily between 7 and 8am before going to work in my small garage shop, I finally put the finishing touches on the Federal Card Table project.

This project was inspired by a Fine Woodworking article titled “Federal Demilune Card Table” (Steve Latta, issue #180.) I met Steve at the Fine Woodworking Live conference last August in New Haven, CT, and he gave me a few great tips he had learned since writing that article about the best ways to build and veneer the apron. I made sure to follow his advice.

The last step was to take a few photographs of the finished project. To achieve this, I turned to an excellent Fine Woodworking article titled “A Woodworker’s Guide to Photography” (Michael Pekovich, issue #213.) Overall I am extremely pleased with the result:


As you can see, this table is not a reproduction, but rather an interpretation of a period form. I am not a huge fan of bell flower inlay, and I replaced the oval inlays found on most period pieces with a slightly more modern curly maple diamond inlay on each leg.

I chose this project not only based on the esthetics of the table, but also because it has taught me the following skills:

  • How to prepare and use hot hide glue
  • How to make and apply holly stringing
  • How to make a knuckle joint
  • How to install card table hinges
  • How to drawbore a mortise and tenon joint
  • Hammer veneering
  • French polishing

Nowadays, this table sits in my living room, and is used as a decorative piece of furniture sporting picture frames and flower bouquets.

I hope you like it!

A Sliding Dovetail Bridle Joint for a Federal Card Table

During Fine Woodworking Live, Steve Latta emphasized that he liked using a “sliding dovetail bridle joint” for the two front legs of a Federal card table. The reason? Contrary to what you might think, it is actually much easier to make than a standard bridle joint! Indeed, the lip created by the dovetail on the front side of the leg will hide any mistake you might have made while cutting the joint (cutting a bridle joint with no gap whatsoever is very hard to do…) In addition, if the veneer were to ever de-laminate, that same lip would prevent the veneer from going anywhere. The question is: how do you precisely cut that joint on a curved apron? Instead of a long and boring explanation, click on the pictures below and leave a comment in the comments section of this blog article if you have any additional questions you would like me to address. Cheers!


How To Make a Curved Clamping Caul For Veneering

In my last post, I explained how to build the semi-circular apron of a Federal card table. The next step in this project is to veneer the front of the apron. For that, I am planning to use some great looking crotch mahogany veneer purchased from Veneer Supplies. The primary issue when veneering on a curve is to find a way to apply sufficient pressure uniformly across the entire surface. In this short article, I will show you how I am planning to do that.

First of all, a vacuum press is not really an option in this case as it might destroy the apron! It could work on a smaller piece, especially if the curve is not as pronounced. However, you will have to build a form to prevent the piece from collapsing under atmospheric pressure.

A more viable option is to use what is referred to as “bending plywood”, “wiggle wood”, or “Italian bending poplar”, to build a curved caul. In terms of thickness, 1/2″ is probably a minimum in order to spread the clamping pressure across the entire surface. You may be able to find some bending plywood online. In my case, I found some at a local retailer. The only issue with this option is that I had to buy a 24″x48″ sheet when all I needed was a small strip 3.5″x20″. So I went looking for a better, cheaper option. Here is what I did:

Step 1: Cut a piece of quality plywood — I used some scrap Finnish birch plywood — to the dimensions you need (3.5″x20″ in my case) Note: it is critical for the grain to go lengthwise on the outer plys! Otherwise, the plywood will crack as soon as you try to bend it…

Step 2: At the table saw, using a cross-cutting sled, I cut a series of deep notches (or kerfs) every 1/2″ across the entire surface, leaving only 1/16″ of thickness. When that is done, the piece of plywood becomes bendable.

Step 3: Resaw a piece of thick (1/16″) solid wood veneer at the band saw. You can use pretty much any wood species you want. In my case, I used some scrap poplar.

Step 4: Glue that thick piece of veneer to the face of the plywood that has all the kerf cuts and clamp it against the desired curved form. Use a glue that does not creep. In my opinion, the best option is liquid hide glue. Let the glue harden overnight. When the glue has dried, the piece will retain its shape.

Step 5: Glue small blocks, as necessary, to spread the clamping pressure evenly across the entire curved surface. Below is a photo of the curved caul I came up with:

Pro-Tip: I found that hand screws are a great way to clamp a curved piece on edge against your workbench:

Building the Apron of a Federal Card Table

After coming back from attending the Fine Woodworking Live conference in New Haven, CT, and especially after talking with Fine Woodworking author and period furniture maker Steve Latta, I set out to build a Federal Card Table. I was interested in this project because it was the perfect opportunity to learn more about banding, stringing, bell flower inlays, and expand my veneering and marquetry skills. It was also an excellent opportunity to get into curved work. The fact that I also happened to like the piece helped me make the decision to dive in! After doing some research, I found 2 great magazine articles that would serve as references on how to build a federal card table:

  • Federal Demilune Card Table by Steve Latta (Fine Woodworking #180)
  • The Portsmouth Card Table by Mario Rodriguez (American Woodworker)

In today’s article, I will show you how I built the semi-circular apron. That part of the project is not particularly difficult, but it must be done with care since the entire table is built around the apron.

I felt compelled to write this article because, in my opinion, the aforementioned references do not present satisfactory ways of trimming the apron. I will however not cover every single detail of the construction and suggest that you purchase these magazine articles if you are interested in learning more about the entire process.

A brick wall…

The apron of a federal card table is built very much like a masonry wall, by laying “bricks” of poplar in a semi-circular fashion on top of a staging board. To make the process easier, I used hot hide glue which requires no clamping and allowed me to work quickly. I opted to use a fairly large number of bricks in each layer (10, as suggested in Mario Rodriguez’ article) to use less material and also because I believe that the apron will be more stable that way. Each layer was left to dry over night prior to being planed in preparation for the next layer. The apron was built in 4 days.

Trimming the apron

In his article, Steve Latta recommends to trim each layer using a router and an MDF template. A “climb cut” is necessary because the grain switches direction between two consecutive bricks. I first tried this technique, and I cannot recommend it. I found it to be very dangerous, even if you only have 1/16″ to trim. The router is very hard to control!

Mario Rodriguez, on the other hand, trims the apron free hand at the band saw before cleaning it up with a card scraper and/or sand paper (Needless to say that if you go that route, you will need to build an extension table for your band saw!) I like to think that I am pretty good with the band saw. Nevertheless, I think that I would not have been able to obtain a very clean cut, and I would have spent a lot of time and energy cleaning up the apron.

After contemplating my options, I decided to build a jig to make the task of trimming the apron at the band saw easier. It is similar to a circle cutting jig, although it can be used only once. The photos below should hopefully give you enough details about the whole process (click on the thumbnails for a larger version of each photo) The result? A perfectly cut apron which requires no clean up right out of the band saw! The 30 minutes it took to build this jig were worth the effort!


Don’t Be Afraid of Hot Hide Glue!

I recently started using liquid hide glue (I have only used Titebond’s liquid hide glue so far, but you can also use Patrick Edwards’ Old Brown Glue) in all of my projects because squeeze out is so easy to clean up, and whatever is left on the wood will not significantly interfere with penetrating finishes. However, a few weeks ago, at the Fine Woodworking Live event in New Haven, CT, period furniture maker Steve Latta recommended that I give hot hide glue a try because of its remarkable properties, which can be very useful under certain circumstances. As a result of this conversation, I decided to purchase some equipment. At minimum, I would need a glue pot, a decent glue brush, a thermometer, and of course some hide glue in granulated form.

The glue pot that most people seem to be using these days is the Hold Heet electric glue pot, available from a variety of retailers. However, I was not ready to invest $135, so I went looking for a cheaper option. After doing some internet searches, I found that people were getting good results using a homemade double boiler on a hot plate, or a modified crock-pot. All those options seem to work well according to those who had used them. However, I was looking for a cheap option that was convenient (a self-powered electric unit is a must) and required little to no modifications out of the box. I finally settled on a wax warmer for $28. I figured that if this unit did not work out, at least I would have some very smooth legs :)

I also purchased a decent glue brush as well as some 192 and 251 gram strength hide glue from Tools For Working Wood. Finally, I picked up a meat thermometer at the grocery store for $3. Click on the thumbnail on the left for a detailed view of my “el-cheapo hot hide glue kit”.


After watching this very detailed video showing Patrick Edwards explaining how to use hot hide glue, I felt confident enough to give it a try. It took me a little while to get the dosage just right (at first, I had put too much water) but I eventually made a good batch and used it on a project I am working on. To say that I loved it is an understatement! In my opinion, here are the main benefits of hot hide glue:

  • It becomes tacky very quickly as it cools down, reducing or even eliminating the need for clamps. This is especially useful with glue blocks, or when making complex assemblies that would be a nightmare to clamp. It is that quality that makes hammer veneering possible. Note: The glue will reach full strength in about 24 hours once all the water it contains has evaporated.
  • It cleans up very easily! Just use a rag impregnated with warm water. However, keep in mind that the longer you wait, the harder it is to clean up…
  • It does not creep. Indeed, the glue dries hard unlike PVA glue which retains some of its flexibility. It dries harder than liquid hide glue as well, according to what I have read. This quality can be useful in curved work.

A lot of people mention the reversibility aspect of hide glue (hot or in liquid form) as a major advantage over modern glues. In my opinion, this is only really true when doing veneering work where it is possible to get enough moisture and heat through the thin veneer to loosen the glue bond. However, forget about dislodging a mortise and tenon joint once the glue has fully hardened!

Conclusion: give hot hide glue a try and you’ll be amazed! However, remember to always use the right glue for the right job. Hot hide glue will do wonders in some applications (e.g., hammer veneering, glue blocks, complex assemblies where clamping would be difficult), while other glues might be better suited to other applications…

3-Day Marquetry Class at the David Marks School of Woodworking

I just came back from a 3-day marquetry class at the David Marks School of Woodworking, and although I am physically exhausted, I also feel creatively rejuvenated! Let me tell you about my experience there.

David and his wife Victoria are very friendly, down-to-earth people. They live in a modest house in the outskirts of Santa Rosa, a sleepy town located an hour drive north of San Francisco. David’s woodworking studio is located in the back of their property and offers 2,000+ sq-ft of space outfitted with a wide variety of power tools, workbenches, and even a complete drum set! (David’s band, appropriately named The Bench Dogs, practices in his woodworking studio. How cool is that?!)

David Marks’ claim to fame is to have hosted a television show named “Woodworks” on the DIY network between and, I was not terribly impressed by that since I started woodworking in, long after the show ended… I had only heard of David’s achievements through Marc Spagnuolo’s Wood Talk Online Radio podcast. Last year, for Christmas, my thoughtful wife gifted me a 3-day marquetry class at the David Marks’ School of Woodworking, prompting me to check out who the dude was. All I can say is that I was very impressed by both his craftsmanship and creativity. As a general rule, if you want to take a class with a master woodworker, look at the pieces of art that he or she has created. If you like their work, you’re likely to enjoy their company and benefit from the class.

David remains very humble about his television show and instead lets his 30+ years of woodworking experience speak for itself. During the 3-day class, David took us through the process of making beautiful marquetry pieces using the double-bevel marquetry technique. He also demonstrated a lot of inlay techniques involving many different types of materials so that we could incorporate those into our work when the time comes. One of the best thing about the class was that we got plenty of hands-on experience and each walked away with a beautiful project. We all had our own scroll saw, and were able to use beautiful wood species that David had resawn into veneers on his own band saws.

David is very generous with his time. During the class, you can talk about anything even remotely related to woodworking, hear many stories and discuss the lessons that he’s learned about living his life as a free artist who cares more about his art and the quality of his craftsmanship than how much money he’s made or what kind of car he drives. This was very refreshing to me since I work in the high tech industry, a field notorious for its materialism.

Would I recommend this class? Absolutely! David is what I call an “approachable hero”. There are very few craftsmen like him left in the country, and being able to spend a few days in his woodworking studio was worth every penny! Also, if you’re not careful, you might even learn a thing or two :)

I am already planning to go back next year in order to learn more about wood turning (David is a world class wood turner, in case you didn’t know…) In the meantime, enjoy some of the photos from last weekend’s class below. Click on the thumbnails to see a larger version of each picture. The last one is a photo of my very own project :) Cheers!


Pennsylvania Spice Box [Video]

Here is a short video presentation of my latest project, a Pennsylvania Spice Box made from a plan I saw in Fine Woodworking #196. Below the video are some close-up shots of the box (click on the thumbnails to see a larger version of each image) If you have any questions regarding this project, feel free to leave a comment!


An “El Cheapo” Dust Collector For Small Shops

I have been using a shop vac as a dust collector for over a year, and found that it works fairly well with small woodworking machines such as the ones I own. However, I was recently made aware of the dangers that fine wood dust (smaller than 1 micron) presents to our health, and therefore decided to upgrade my shop vac filter to a HEPA-certified filter. Those filters are fairly cheap and can be purchased in most home centers. However, they are so fine that they have a tendency to clog very quickly, decreasing the suction very significantly! The solution is to use a separator in order to reduce the amount of dust and chips reaching the filter. Marc Spagnuolo aka The Wood Whisperer did a comparative review of several well known dust separators, and found that Oneida’s Dust Deputy was a great option. I followed his recommendation and bought that unit. I also made a cart, based on Asa Christiana’s blog article on the Fine Woodworking web site, to keep the shop vac and the Dust Deputy together as I move the rig around the shop. The total cost is around $100 US (in addition to the shop vac you probably already own) Not a bad deal when you think about it!

Note: If you use a shop vac as your primary dust collection system, make sure you use the largest size hose possible (2.5″ is a common size, at least in the US) and try to keep the hose as short as possible to avoid loosing too much suction.

OR: DARC Observatory, 4/20

If you know what 4/20 refers to, you know we must have had a good time! A few of us, including Mark Johnston, Rogelio Bernal Andreo, Jeff Weiss, Al Howard, Al Smith and I, met up at a private property located in the Little Panoche Valley, roughly 15 miles south of the San Luis reservoir. The temperatures remained in the 60s, which is good for observers, but not so much for imagers who have to worry about cooling their camera sensor… The seeing was good (4/5), not quite excellent though. The air was fairly dry. I estimate the NELM was around 6.7 (same as last week.) I re-observed a lot of Herschel 400 objects that I had marked as favorites, and observed a few Herschel II objects that were new to me. Among the highlights were observing Leo I for the first time, an incredible (and I do mean *incredible*) high power image of the Ghost of Jupiter (see description below), countless galaxies showing spiral structure, Mars and Saturn with nice crisp details. Below is my log for the night (mostly Herschel II objects.)

Log format: [designation(s)] [type] [constellation] [RA] [Dec]
[magnitude] [date and local time (PDT)]

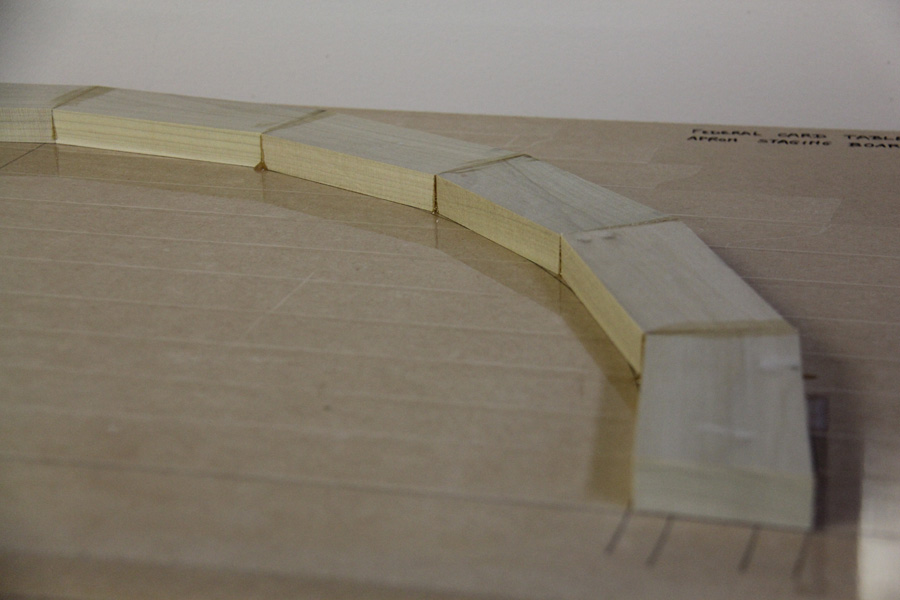
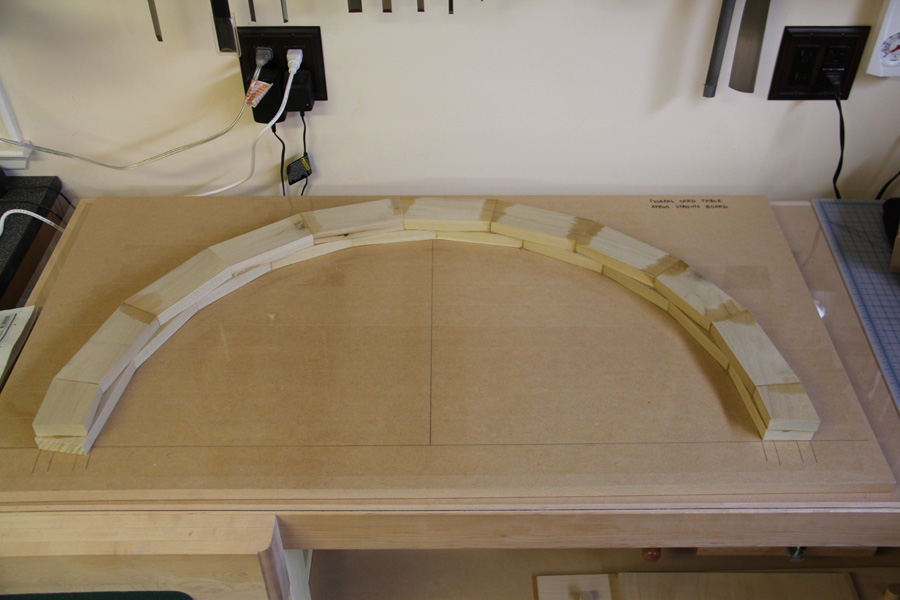
Location: D.A.R.C. Observatory [Elevation 1400ft]
Telescope: 16″ F/4 homemade dobsonian with Paracorr
Eyepieces used:
- Televue Panoptic 27mm (69x – 1° TFOV)
- Televue Nagler 16mm type 5 (117x – 42′ TFOV)
- Televue Nagler 9mm type 6 (208x – 24′ TFOV)
- Televue Nagler 7mm type 6 (267x – 18′ TFOV)
- Televue Nagler 5mm type 6 (374x – 13′ TFOV)
(All times are PDT)

NGC 2784 GX Hya 09 12 53 -24 13 45 11.2 04-20 09:10pm
At first glance, all you see is a moderately bright core roughly 1′x45″ E-W, gradually brighter towards the center. Upon closer examination, a very faint halo starts to appear around the core. I estimated it was 3′x1′ E-W.

NGC 2986 GX Hya 09 44 51 -21 20 26 11.7 04-20 09:15pm
Round core, roughly 45″ in diameter, moderately faint on the outside, moderately bright in the center, stellar nucleus. A very faint halo seems to extend as far as 1.2′. MCG-3-25-18 (mag 14.5) was easily spotted 2′ WSW. A moderately faint (mag 16.3) star is 45″ SW, another (mag 16.9) 50″ NW and 2 stars (mag 15.7) 1′ ESE.

NGC 3078 GX Hya 09 58 59 -26 59 27 12.1 04-20 09:30pm
40″x30″ NNE-SSW, moderately faint in the center, faint in the outer region, smooth gradient. Moderately faint (mag 15.6) star 45″ W.

NGC 3242 (Ghost of Jupiter) PN Hya 10 25 23 -18 42 36 8.6 04-20 09:45pm
The central star was spotted easily, along with a slight darkening around it, inside the “eye”. Also, the rim of the outer shell seemed very well defined. Finally, a very faint halo, visible using averted vision, was seen around the outer shell, especially immediately to the E. Beautiful sight!

MCG 2-26-27 (Leo I) GX Leo 10 09 09 +12 14 35 11.2 04-20 09:50pm
Seen with difficulty and confirmed by Mark Johnston as a very pale glow, maybe 3′x1′ E-W. Better keep Regulus out of the FOV!

NGC 4880 GX Vir 13 00 49 +12 24 52 13.1 04-21 12:10am
Faint, relatively uniform glow 1′x45″ NNW-SSE.

NGC 4647 GX Vir 12 44 11 +11 30 44 12.1 04-21 12:20am
Located just 2′ NW of M60. Round, diffuse, about 1.2′ in diameter, fairly uniform, moderately faint, slightly and gradually brighter towards the center.

NGC 4639 GX Vir 12 43 31 +13 11 11 12.2 04-21 12:25am
Moderately faint halo, 1.2′x50″ N-S. Moderately bright, small, almost stellar core. Moderately bright (mag 15.2) star 45″ SE.

NGC 4608 GX Vir 12 41 52 +10 05 07 12.1 04-21 12:30am
1′x40″ faint “halo” (this is actually the bar of this barred spiral galaxy…) elongated NE-SW. Round, 20″ in diameter, moderately bright core. Located right near Rho Vir (mag 4.9!)

NGC 4612 GX Vir 12 42 12 +07 14 40 12.1 04-21 12:35am
Moderately faint to moderately bright in its center, round, 45″ in diameter. Uninteresting, except for the fact that it is located at the SE end of a chain of 6 fairly bright stars spanning 9′.

NGC 4571 GX Com 12 37 35 +14 08 49 11.9 04-21 12:40am
Round, about 2′ in diameter, very faint and uniform. Small, round, only slightly brighter core. Located 2′ SSW of a bright (mag 8.9) star (SAO 100177). Moderately faint (mag 15.1) superimposed star at the western end.

NGC 5020 GX Vir 13 13 18 +12 31 54 13.0 04-21 12:55am
Moderately bright round core 15″ in diameter surrounded by a halo 1.5′x1.2′ elongated N-S showing signs of spiral arms. In particular, the northern tip of the halo bends to the W while the southern tip bends to the E. A moderately faint (mag 14.0) star can be seen 2′ NW.

NGC 5129 GX Vir 13 24 48 +13 54 35 13.0 04-21 01:00am
Located right next to 2 bright field stars (mag 9.7 and 10.3). Roundish, about 30″ in diameter, slightly elongated N-S, moderately faint and uniform.

NGC 5806 GX Vir 15 00 40 +01 50 25 12.4 04-21 01:20am
Fairly faint halo 1.5′x1′ NNW-SSE. Moderately bright, small (10″ in diameter?) core.

NGC 5813 GX Vir 15 01 50 +01 39 03 11.5 04-21 01:35am
Round, about 1′ in diameter, moderately faint on the outside, moderately bright in the center, smooth gradient. Located right near NGC 5814 and NGC 5811.